
I spend a lot of time at the command line. As someone who likes to code on OSX and Windows, I’ve always been annoyed by the Windows command line experience. Do I use cmd, or PowerShell? Where are my tabs? What about package management? What about little frivolous things like being able to resize the window. I’ve finally got my Windows command line experience running smoothly, and wanted to share my setup. Here are my 5 steps to a Windows command line that doesn’t suck.
1. Use Console2 or ConEmu
The first place to start is the actual console application. Scott Hanselman wrote an excellent blog post on setting up Console2, and I’ve been using it ever since. It adds tabs, a resizable window, transparency, and the ability to run multiple shells. I choose to run PowerShell (you should too, keep listening). There are other options out there, but I’ve really grown to love Console2.
2. Use PowerShell
I won’t spend a ton of time evangelizing PowerShell. There are a few good reasons to dump cmd.exe and move over:
- Most of the things you do in cmd will just work. There are obviously some exceptions, but for the better part all of the things I want to do in cmd are easily done in PowerShell.
- Tab Completion and Get-Help is awesome. PowerShell does a great job of making things discoverable as you learn.
- It’s a sane scripting tool. If you’ve ever tried to do anything significant in a batch script, I’m sorry. You can even create your own modules and cmdlets using managed code, if that’s your thing.
- Microsoft is releasing a lot of stuff built on PowerShell. Most of the new stuff we release is going to have great PowerShell support, including Windows Azure.
- It’s a growing community. Sites like PowerShell.org and PsGet provide a great place to ask questions and look at work others have done.
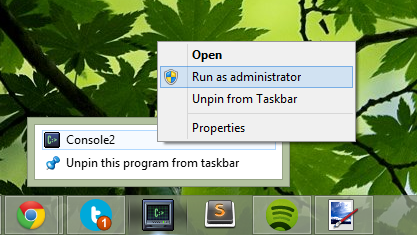
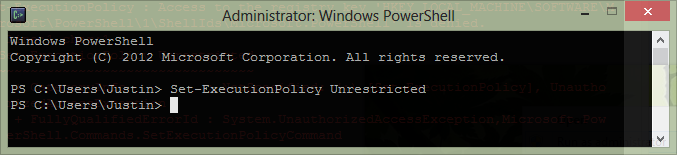
Now that I’ve sold you, there are a few things you’ll find through here that make using PowerShell a bit easier. To use this stuff, you’re going to want to set an execution policy in PowerShell that lets you run custom scripts. By default, the execution of PS scripts is disabled, but it’s kind of necessary to do anything interesting. I lead a wild and dangerous life, so I use an unrestricted policy. To set your policy, first run Console2 (or PowerShell) as an administrator:
Next, use the Set-ExecutionPolicy command. Note, this means any un-signed script can be run on your system, if you run it, and many people choose to use RemoteSigned. Here is the official doc on Set-ExecutionPolicy.
Set-ExecutionPolicy Unrestricted
Now you’re ready to start doing something interesting.
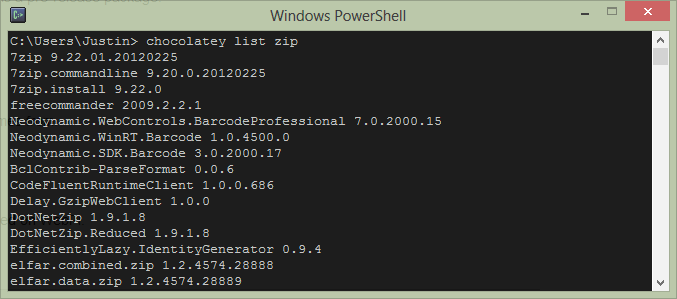
3. Use the Chocolatey package manager
Spending a lot of time in Ubuntu and OSX, I got really used to sudo apt-get install <package> and `brew install `. The closest I’ve found to that experience on Windows is the Chocolatey package manager. Chocolatey has all of the packages you would expect to find on a developer’s machine:
To install Chocolatey, just run cmd.exe and run the following command (minus the c:> part):
C:\> @powershell -NoProfile -ExecutionPolicy unrestricted -Command "iex ((new-object net.webclient).DownloadString('http://bit.ly/psChocInstall'))" && SET PATH=%PATH%;%systemdrive%\chocolatey\bin
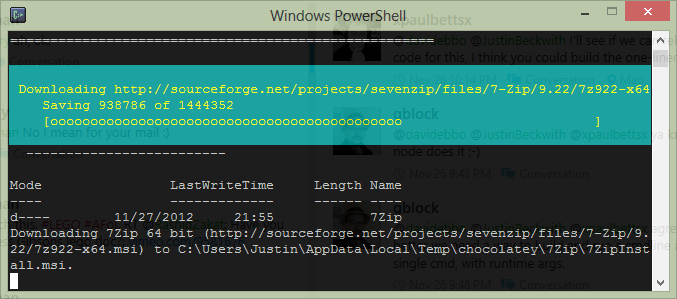
And you’re ready to rock. If you want to install something like 7zip, you can use the cinst command:
cinst 7zip
4. Use an alias for SublimeText
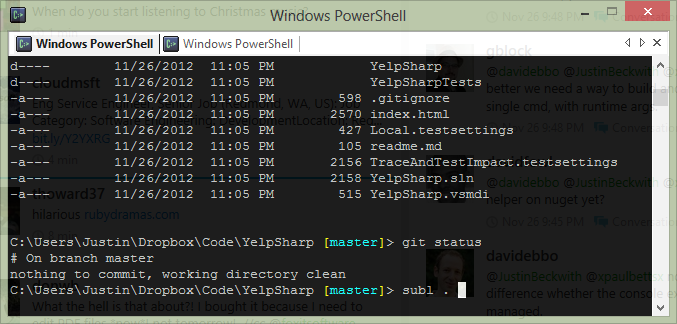
This seems kind of trivial, but one of the things I’ve really missed on Windows is the default shortcut to launch SublimeText, subl. I use my PowerShell profile to create an alias to SublimeText.exe, which allows me to subl file.txt or subl . just like I would from OSX. This article gives a basic overview on how to customize your PowerShell Profile; it’s really easy to follow, so I won’t go into re-creating the steps.
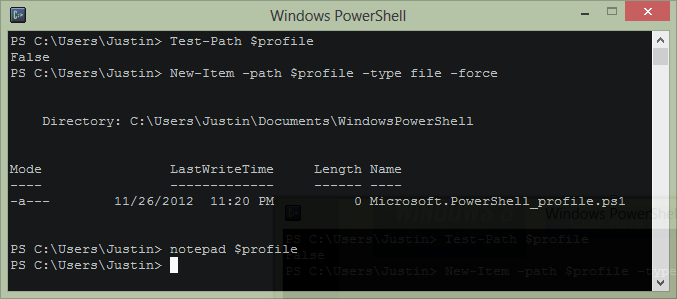
After you’ve got your PowerShell profile created, edit the script, and add this line:
Set-Alias subl 'C:\Program Files\Sublime Text 2\sublime_text.exe'
Save your profile, and spin up a new PowerShell tab in Console2 to reload the session. Go to a directory that contains some code, and try to open it:
subl .
This will load the current directory as a project in SublimeText from the command line. Small thing, but a nice thing.
5. Use PsGet and Posh-Git
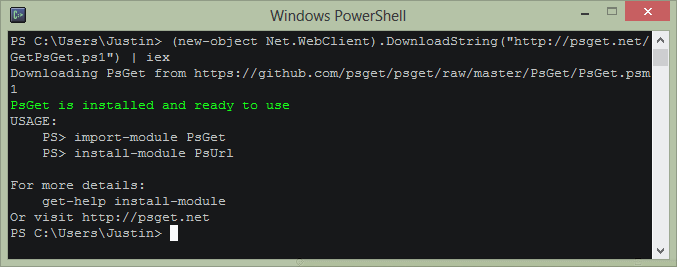
One of the nice things about using PowerShell over cmd is the community that’s starting to emerge. There are a ton of really useful tools and cmdlets that others have already written, and the easiest way to get at most of these is to use PsGet. PsGet provides a super easy way to install PowerShell modules that extend the basic functionality of the shell, and provide other useful libraries. To install PsGet, run the following command from a PowerShell console:
(new-object Net.WebClient).DownloadString("http://psget.net/GetPsGet.ps1") | iex
If you get an error complaining about executing scripts, you need to go back to #2. Immediately, we can start using the Install-Module command to start adding functionality to our console.
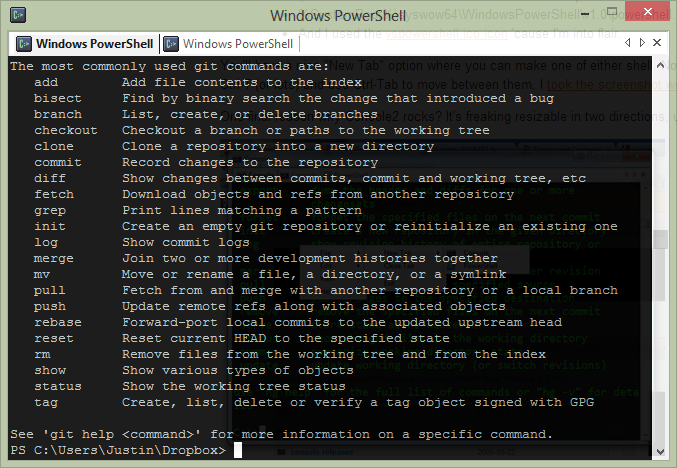
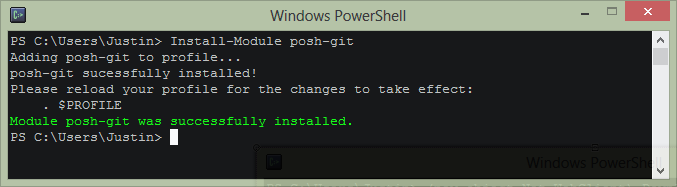
The first module that led me to PsGet is a package that adds status and tab completion to git. Phil Haack did a great write up on setting up posh-git, and I’ve since discovered a few other cool things in the PsGet gallery. Installing Posh-Git is pretty straight forward:
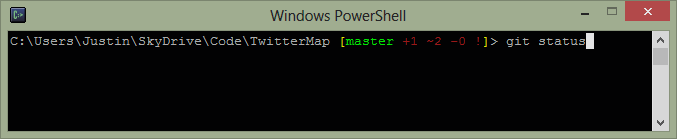
The first nice thing here is that I now have command completion. As I type git sta and hit <tab>, it will be completed to git status. Some tools like posh-npm will even search the npm registry for packages using tab completion. The other cool thing you get with this module is the status of your repository right in the prompt:
Wrapping up
These are just the ways I know how to make the command line experience better. If any one else has some tips, I’d love to hear them!